
How to handle gaps in a granite base?
Please translate the following Chinese text into English:
Cracks in granite bases (platforms) for semiconductors / precision equipment. The core principle is: first stop the crack, then structural reinforcement, and finally precision repositioning and calibration; the use of ordinary marble glue / cement is strictly prohibited. Low-shrinkage, high-rigidity, anti-static specialized epoxy must be used, and the entire process must be operated in a constant-temperature, dust-free environment.
I. First, determine the crack type (to decide the solution)
Hairline cracks (<0.2mm): Surface micro-cracks, no misalignment, minimal impact on precision → Cleaning penetrating epoxy sealing.
Open cracks (0.2–2mm): Have width, no obvious misalignment → Slotting and cleaning rigid epoxy filling grinding and polishing.
Structural cracks (>2mm / through-cracks / misalignment): Base cracking, flatness / perpendicularity out of tolerance → Professional disassembly bonding mechanical reinforcement regrinding and calibration.
Joint cracks (at the interface of two blocks): Joint cracking, light leakage / dust seepage → Realignment structural epoxy joint grinding flatness re-measurement.
II. Precision Base Standard Repair Process (Semiconductor Grade)
1. Machine shutdown protection and environmental control
Power off the equipment, remove upper components, and completely unload the base;
Environment: 22±0.5℃, humidity 40%–60%, dust-free ISO7, to avoid temperature-induced deformation.
2. Thorough cleaning of cracks (Critical! Otherwise, debonding will occur)
Dry cleaning: Brush dust with a soft brush → Deep blow with 0.4–0.6MPa compressed air, no residual particles;
Degreasing: Wipe the crack and the 20mm area on both sides with acetone / anhydrous ethanol, wipe dry with a dust-free cloth;
Drying: Air dry naturally for 30 min or blow dry with hot air (≤40℃), water content in the crack <5%.
3. Crack pretreatment (depending on width)
Hairline cracks: No slotting required, directly penetrate with epoxy;
0.2–2mm cracks: Use a diamond thin blade to cut a V-shaped slot (width 3–5mm, depth 3–5mm), chamfer the slot opening to increase the bonding area;
>2mm / through-cracks: Drill and tap holes (M6–M8) on both sides, reserve positions for stainless steel connecting plates for later mechanical reinforcement.
4. Select the right materials (Semiconductor specialized, ordinary glues strictly prohibited)
Table
Crack Type Recommended Material Key Indicators
Hairline / Micro-cracks Low-viscosity penetrating epoxy Viscosity <100cps, shrinkage <0.5%, anti-static 10⁶–10¹¹Ω
Open / Joint cracks Rigid structural epoxy (1:1 or 2:1) Compressive strength >80MPa, thermal expansion <4.5×10⁻⁶/℃, Shore D hardness >80
Structural cracks Structural epoxy stainless steel connecting plates Epoxy strength >3000PSI, connecting plates 304/316L, rustproof and non-magnetic
❌ Prohibited: Marble glue (high shrinkage, brittle), silicone sealant (soft, affects precision), cement (expansion, corrosion).
5. Filling and Curing (Constant Temperature, Dust-Free)
Glue Mixing: Mix according to the ratio (e.g.,2:1), stir for ≥90s, bubble-free; a trace amount of black pigment can be added (to match Jinan Blue);
Glue Pouring:
-cracks: Slowly inject with a syringe until the crack is overflowing;
Grooved cracks: Press and fill with a scraper, slightly higher than the surface by 0.mm (to compensate for shrinkage), avoiding bubbles;
Curing: Cure at a constant temperature of 22°C for 24h to reach 80%, and 48h for full cure; vibration, pressure, and temperature fluctuations are strictly prohibited during this period.
6. Grinding, Polishing Precision Reset (! Restore to Nanometer Level)
Rough Grinding: Diamond grinding discs (#120→#400→#800) grind layer by layer, flush with original plane;
Fine Grinding: #1500→#3000 grinding discs, flatness ≤2μm/m, Ra≤0.05m;
Calibration: Re-check flatness / perpendicularity with a laser interferometer, overall fine grinding if necessary;
Anti-static: Spray an anti-static coating on the, re-measure resistance to 10⁶–10¹¹Ω.
7. Reinforcement and Prevention (Mandatory for Structural Cracks)
Mechanical Reinforcement Lock stainless steel connecting plates high-strength bolts on both sides of the crack to prevent secondary cracking;
Vibration Isolation Optimization: Check active / passive vibration isolators, adjust and pre-compression to reduce vibration stress;
Daily Control: Constant temperature 22±0.5°C, avoid rapid heating and cooling, regularly (every 36 months) re-check precision.
III. Common Pitfalls (Must Avoid)
Using marble glue / ordinary epoxy: High shrinkage, brittle, prone to secondary cracking, precision not guaranteed;
Incomplete cleaning: Oil / dust leads to debonding and rework;
Room temperature / low temperature curing: Insufficient strength, significant deformation, strictly prohibited for semiconductor grade;
Filling without grinding: Surface protrusions / depressions, flatness out of tolerance, equipment movement jamming.
IV. When Factory Return / Professional Treatment is Mandatory
Cracks penetrating the base, obvious misalignment (>0.1mm);
Flatness / perpendicularity exceeding 00 grade (>2μm/m), cannot be repaired on-site;
Base material is loose, weathered, or cracks continue to expand;
Lithography machine / high-end inspection equipment bases must be repaired by the original factory / precision workshop.
Recently Posted
-
A marble platform for semiconductor production
June 4, 2026Specialized Marble Platform for Semiconductors (Core: High Stability Anti-static Nanometer Precision)Marble platforms for semicond Read More
 -
Why high-precision granite platforms are the cornerstone of high-end laser equipment
May 25, 2026Reasons why high-precision granite platforms become the cornerstone of high-end laser equipmentExcellent thermal stabilityThe coef Read More
 -
Provide some successful cases of special-shaped machining for granite equipment bases
May 19, 2026Case 1: Integral Custom Machined Granite Base for CMMProduct Application:High-precision bridge-type CMM base with hollowed-out wei Read More
 -
The influence of humidity on precision granite surface plate
February 28, 2026The impact of humidity on precision granite slabs / marble platforms, the core is: granite itself is very stable, but humidity can Read More

Contact Us
Recommended Products
-
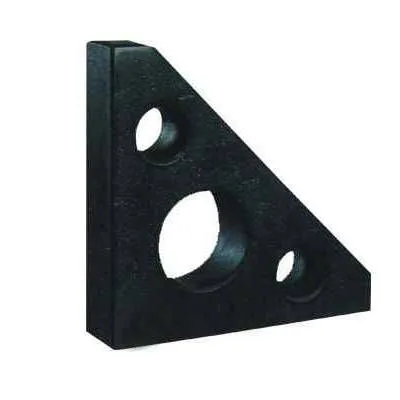
 Marble Mechanical Non-standard Components Machine Base Inspection Platform Flat Plate Experiment Customization Special-shaped Components GraniteNegotiableMOQ: 1 Piece
 -
Marble Testing Platform High Precision 00 Grade Granite Testing Slab Granite Measuring Surface Inspection TableNegotiableMOQ: 1 Piece
-
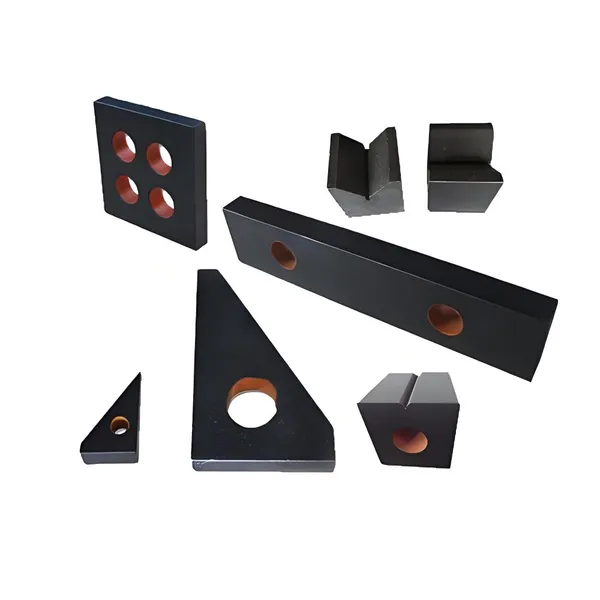
High Precision 000 Grade Marble Measurement Inspection Test 90 Degree Granite Square Ruler; Flat Ruler; Angle RulerNegotiableMOQ: 1 Piece
-
Granite Platform Inspection Platform Measurement 00 Grade Precision Inspection Flat Plate Granite Stone Horizontal Workbench ManufacturerNegotiableMOQ: 1 Piece
-
High Granite Surface Plate Granite Surface Plate Measurement Inspection Granite Workbench 00 Grade Bracket Custom DrillingNegotiableMOQ: 1 Piece


-
New Granite Inspection Surface Plate Drilling Component Base Precision Machine Tool Body Mechanical Cross Beam GraniteNegotiableMOQ: 1 Piece
-
00 Grade Jiqing Marble Testing Platform High Precision Granite Measuring Workbench Laboratory Inspection TableNegotiableMOQ: 1 Piece
-
Marble Straightedge Granite Ruler Parallel Flat Ruler Strip Ruler 00 Grade Marble Test Flat RulerNegotiableMOQ: 1 Piece
-
Marble Parallel Gauge 00 Grade Vertical Parallel Detection Inspection Measurement Marking Etc High PrecisionNegotiableMOQ: 1 Piece
-
00 Grade Marble Test Bench Height Gauge Measuring Seat Marble Platform Dial Indicator Differential Indicator SeatUS$ 300 - 5000MOQ: 1 Piece

-
Marble Platform 00 Grade High Precision Granite Slab Grinding Inspection Line Inspection Platform Granite SlabUS$ 500 - 8000MOQ: 1 Piece
-
Jinan Qing00 Natural Marble Precision V-shaped Frame Natural Granite V-shaped Block Marking Line Level Shaft Type DetectionNegotiableMOQ: 1 Piece
-
Marble Square Box 00 Grade Natural Marble Square Box High Precision Precision Granite Square Box Inspection and Marking Square BoxNegotiableMOQ: 1 Piece
-
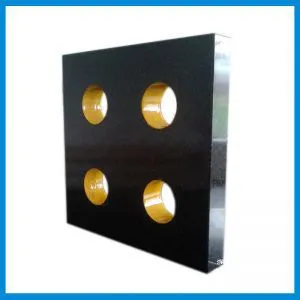
High Precision Marble Mechanical Components Machine Bed Base Guide Beam Threaded Gantry Drilling Processing CustomizationUS$ 800 - 10000MOQ: 1 Piece
-
Marble Bed Body Gantry Components Three-axis Machine Frame Guide Rails Granite Optical Air Float Vibration Isolation Motion Platform CustomizationUS$ 300 - 10000MOQ: 1 Piece
-
Marble Straight Angle Rulerright Angle GaugeJinan Qing Stone Material 00 Grade High Precision 90 Degree Angle Ruler Direct SaleUS$ 100 - 2000MOQ: 1 Piece
-
00 Grade Marble Square Ruler for Testing Parallel Square Ruler Granite Inspection Square Gauge for Measuring Triangular Right Angle RulerUS$ 500 - 3000MOQ: 1 Piece
-
Marble Square Ruler 000 Grade; Jinan Granite Square Ruler 90 Degree Vertical Square Ruler High Precision Line Marking MeasurementUS$ 100 - 2000MOQ: 1 Piece
-
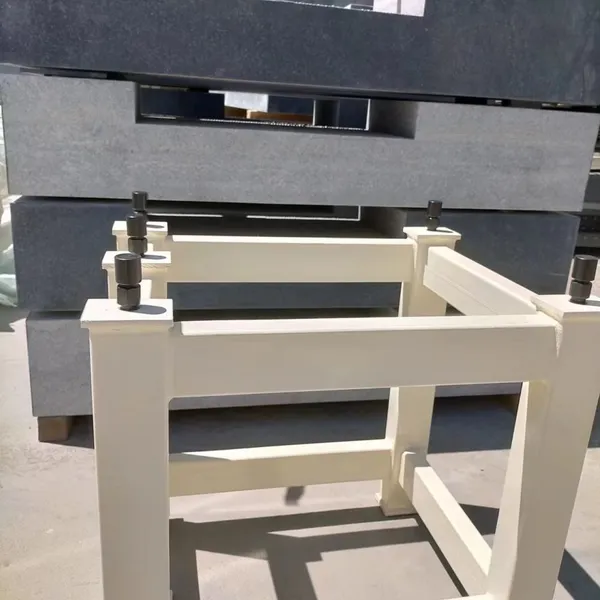
Marble Platform With Thickened Square Steel Bracket 00 Grade Adjustable Level Support Frame Adjusting Jacking Platform Base Granite Slab BottomUS$ 300 - 2000MOQ: 1 Piece